This guide describes the workflow for creating and managing scheduled jobs in the Kodexa platform.Documentation Index
Fetch the complete documentation index at: https://developer.kodexa.ai/llms.txt
Use this file to discover all available pages before exploring further.
Accessing Scheduled Jobs
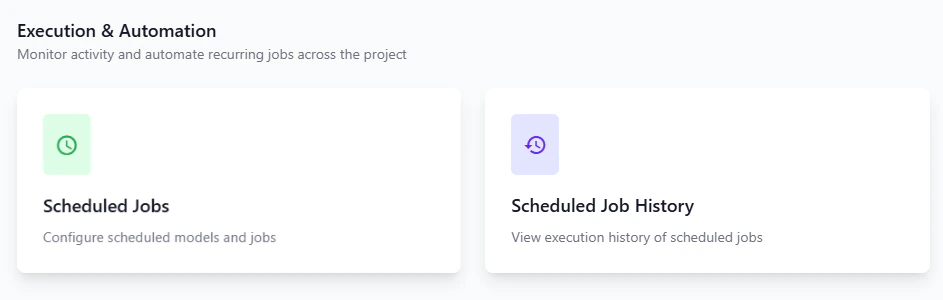
Once you have navigated to a project, the Execution & Automation section provides access to scheduled job functionality with two main options:- Scheduled Jobs: Configure scheduled models and jobs
- Scheduled Job History: View execution history of scheduled jobs
Creating a New Scheduled Job
Step 1: Navigate to Scheduled Jobs
From the Scheduled Jobs page, you’ll see a table listing all configured scheduled jobs with columns for:- Name
- Active status
- Module Reference
- Schedules

Step 2: Configure Job Overview
The job configuration interface provides several tabs:- Overview: Basic job information
- Module Documentation: View documentation for the selected module
- Options: Configure module-specific options
- Schedules: Define when the job runs
- YAML: View/edit raw YAML configuration
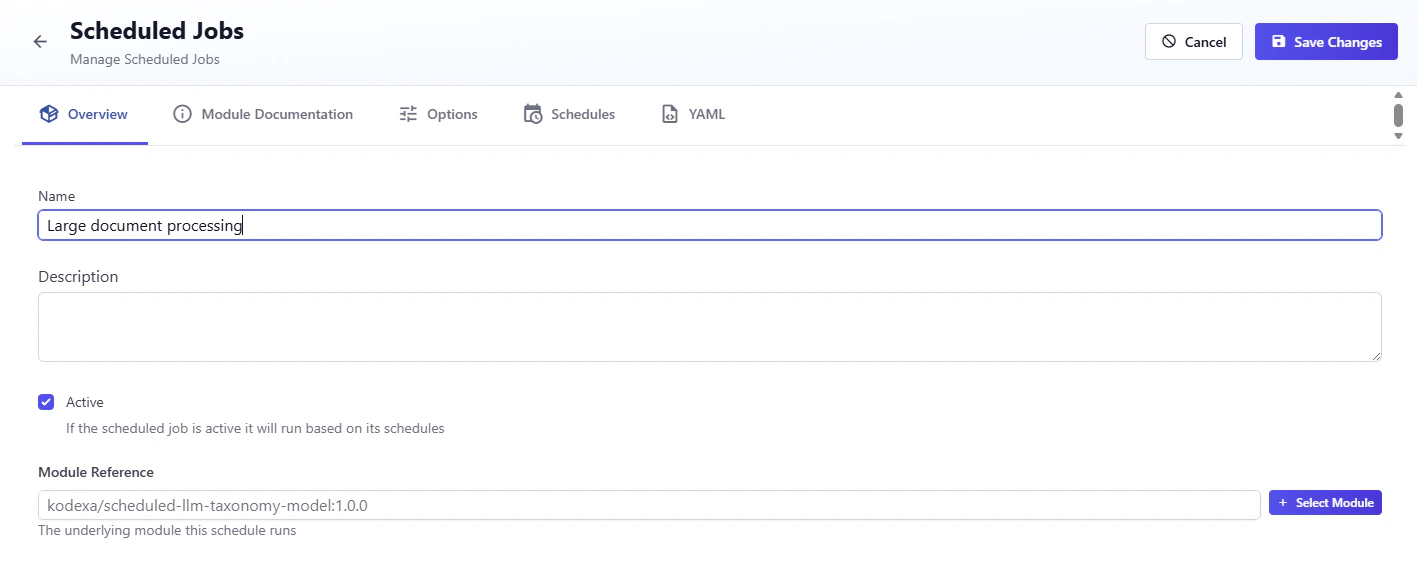
Name
Enter a descriptive name for your scheduled job (e.g., “Large document processing”).Description
Optionally provide a detailed description of what this job does.Active
Check this box if you want the scheduled job to run based on its schedules. If unchecked, the job will not execute even if schedules are defined.Module Reference
Select the underlying module that this schedule will run.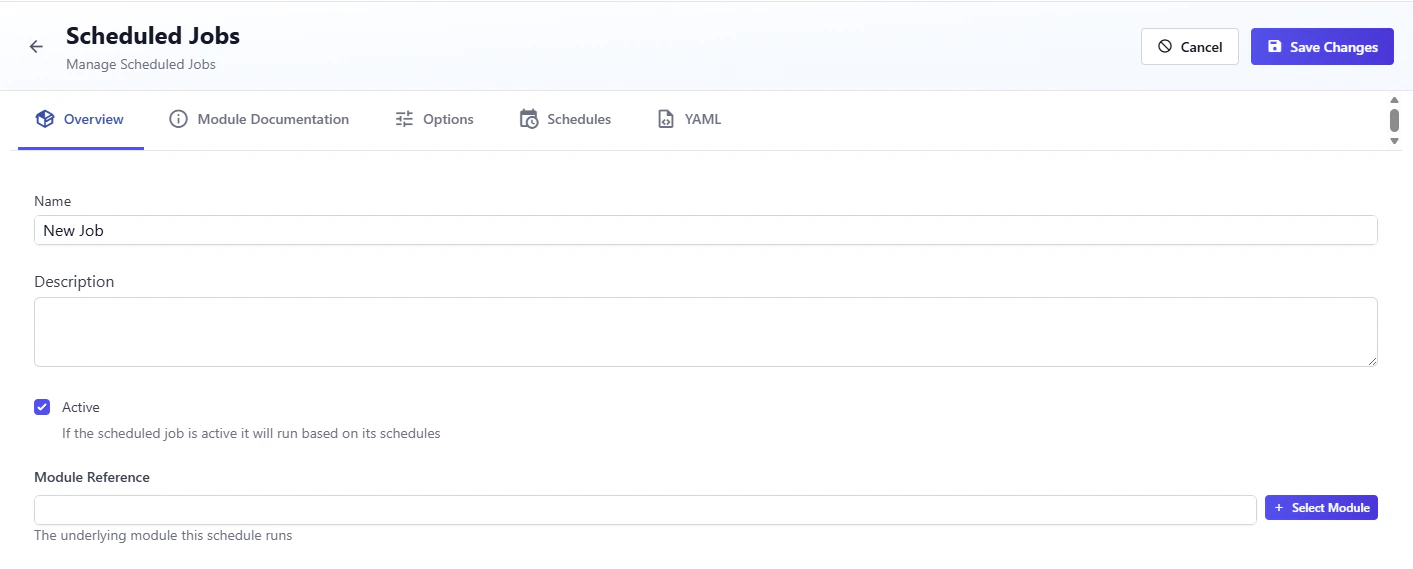
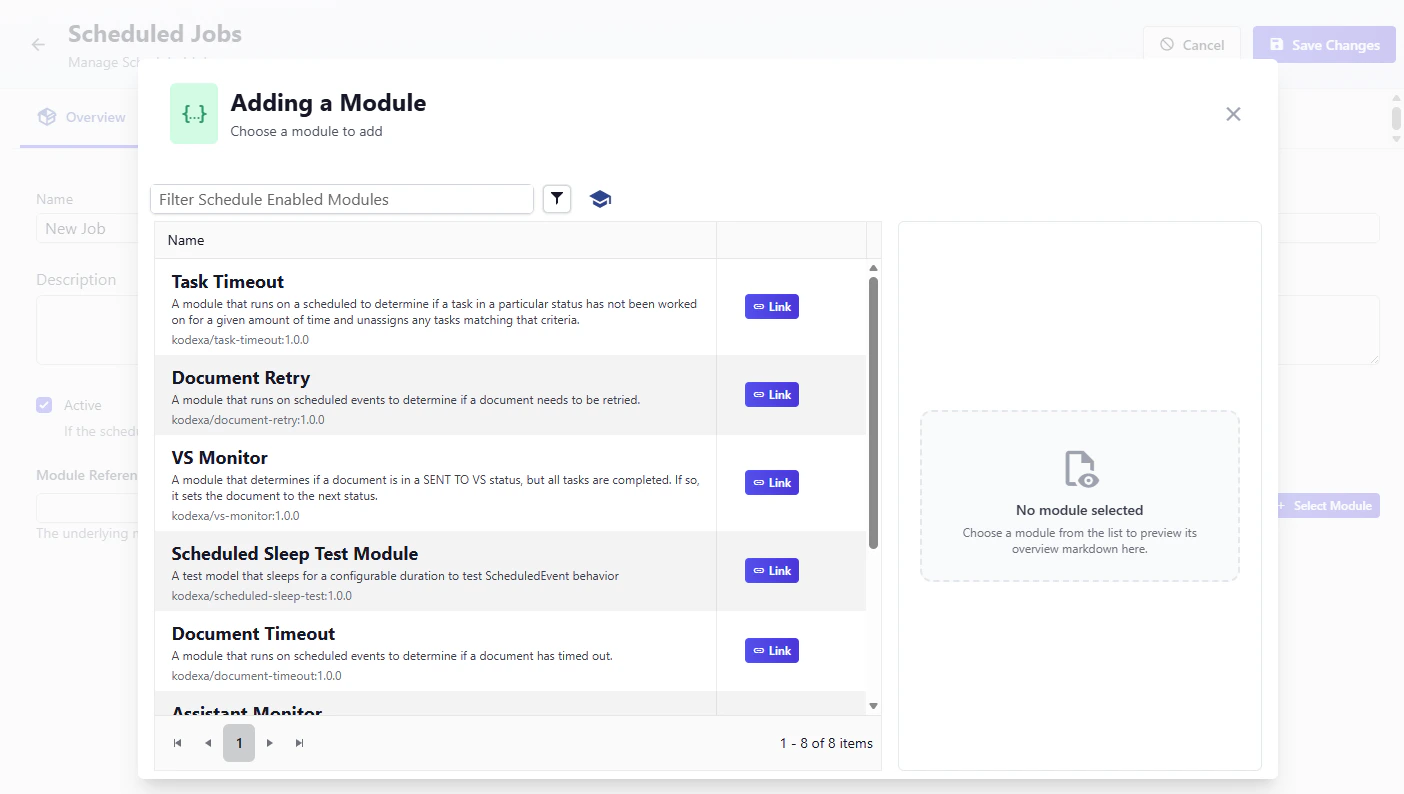
Step 3: Select a Module
Click the + Select Module button to open the module selection dialog. The “Adding a Module” dialog displays a filterable list of schedule-enabled modules. Each module shows:- Module name and description
- Module reference (e.g.,
kodexa/task-timeout) - A Link button to select it
kodexa/scheduled-llm-taxonomy-model).
Step 4: Review Module Documentation
After selecting a module, click on the Module Documentation tab to review the module’s documentation and understand how it works. The documentation provides detailed information about the module’s purpose, configuration options, and usage examples. This helps you understand what the module does and how to configure it properly.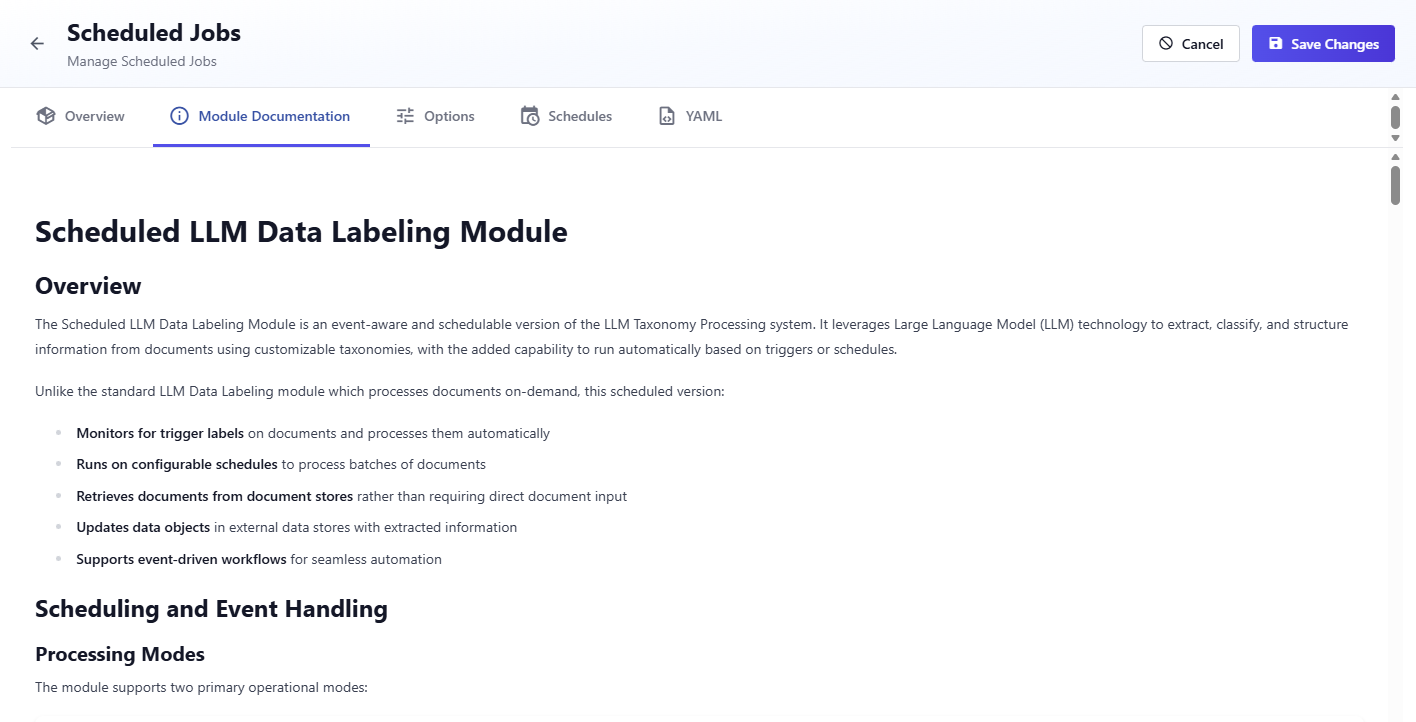
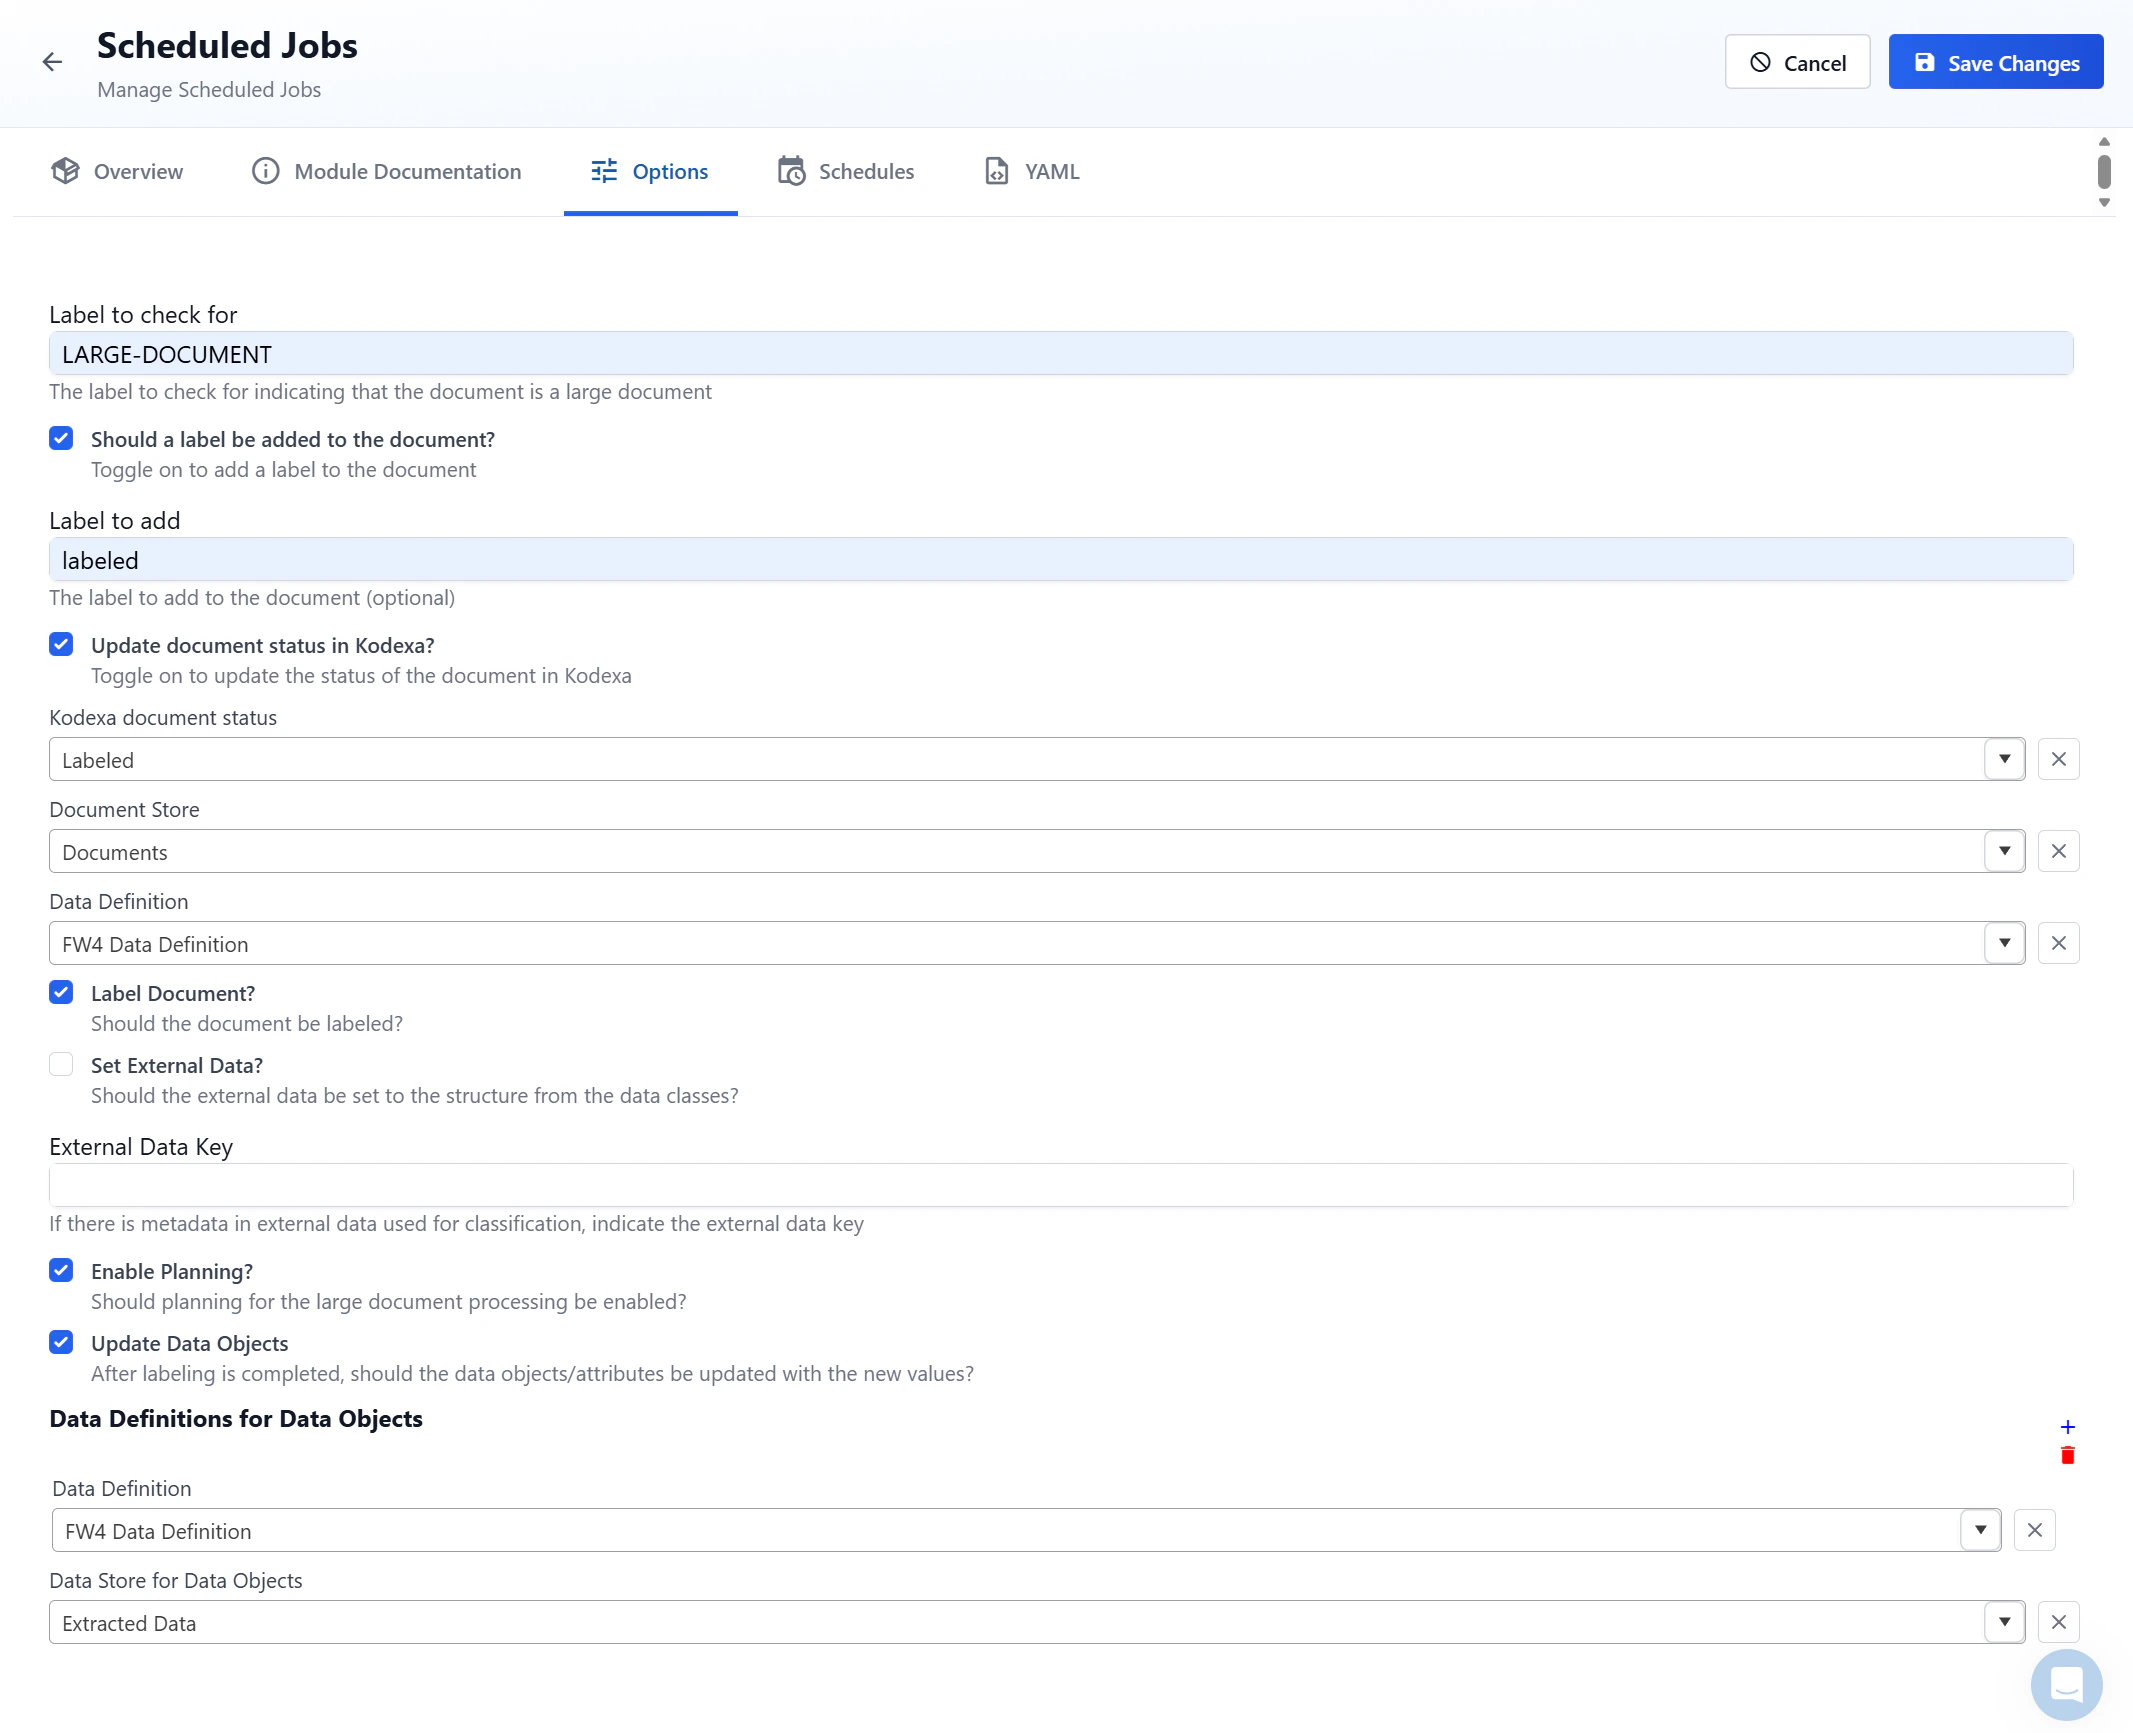
Step 5: Configure Module Options
Navigate to the Options tab to configure the module-specific settings.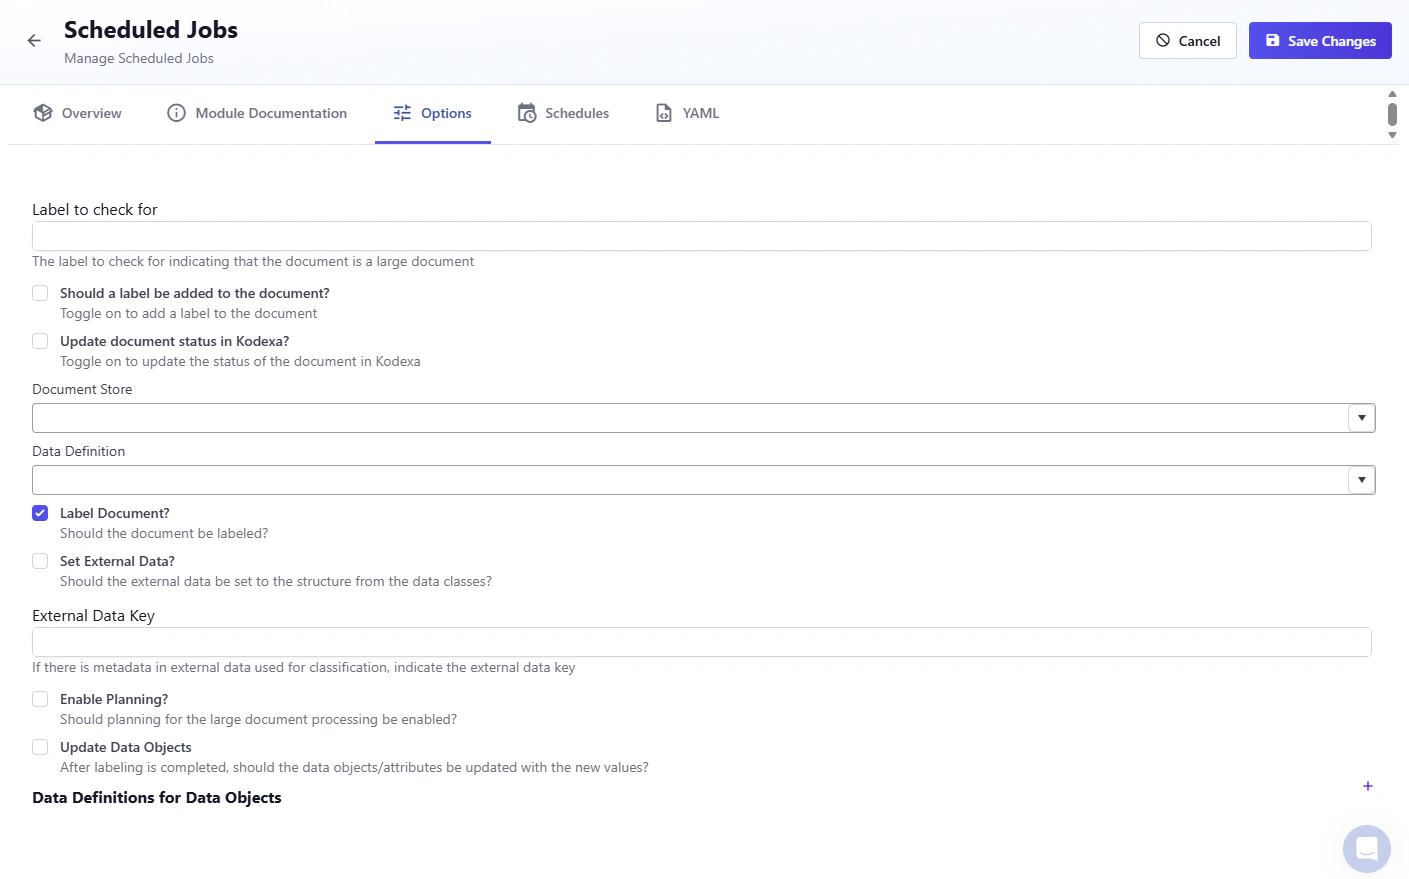
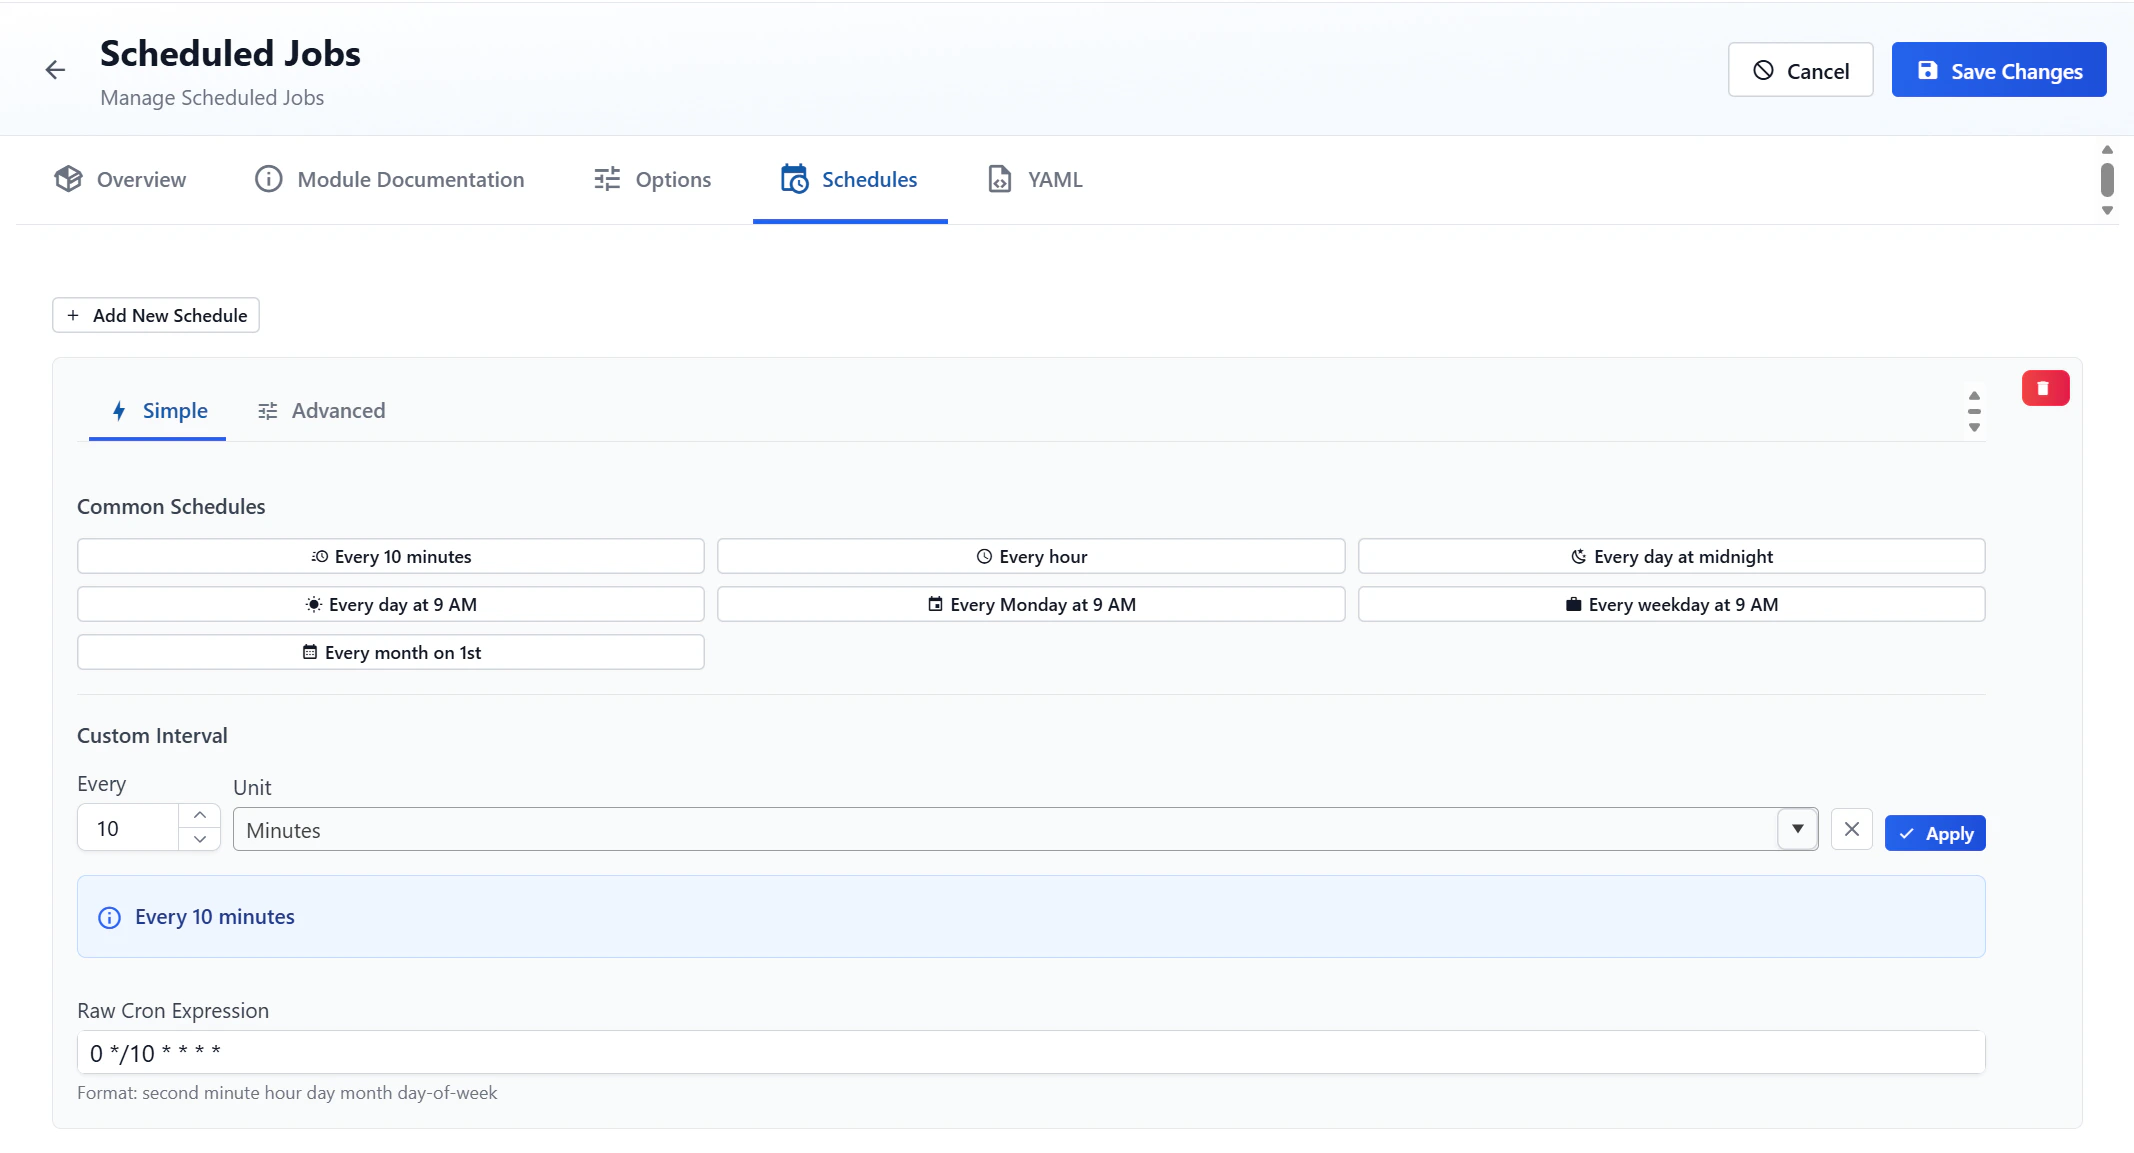
Step 6: Configure Schedules
Navigate to the Schedules tab to define when your job should run.
Simple Schedule Configuration
The Simple tab provides easy-to-use scheduling options: Common Schedules:- Every 10 minutes
- Every hour
- Every day at midnight
- Every day at 9 AM
- Every Monday at 9 AM
- Every weekday at 9 AM
- Every month on 1st
- Every: Number value (e.g., 10)
- Unit: Time unit dropdown (Minutes, Hours, Days, etc.)
0 */10 * * * *)
Format: second minute hour day month day-of-week
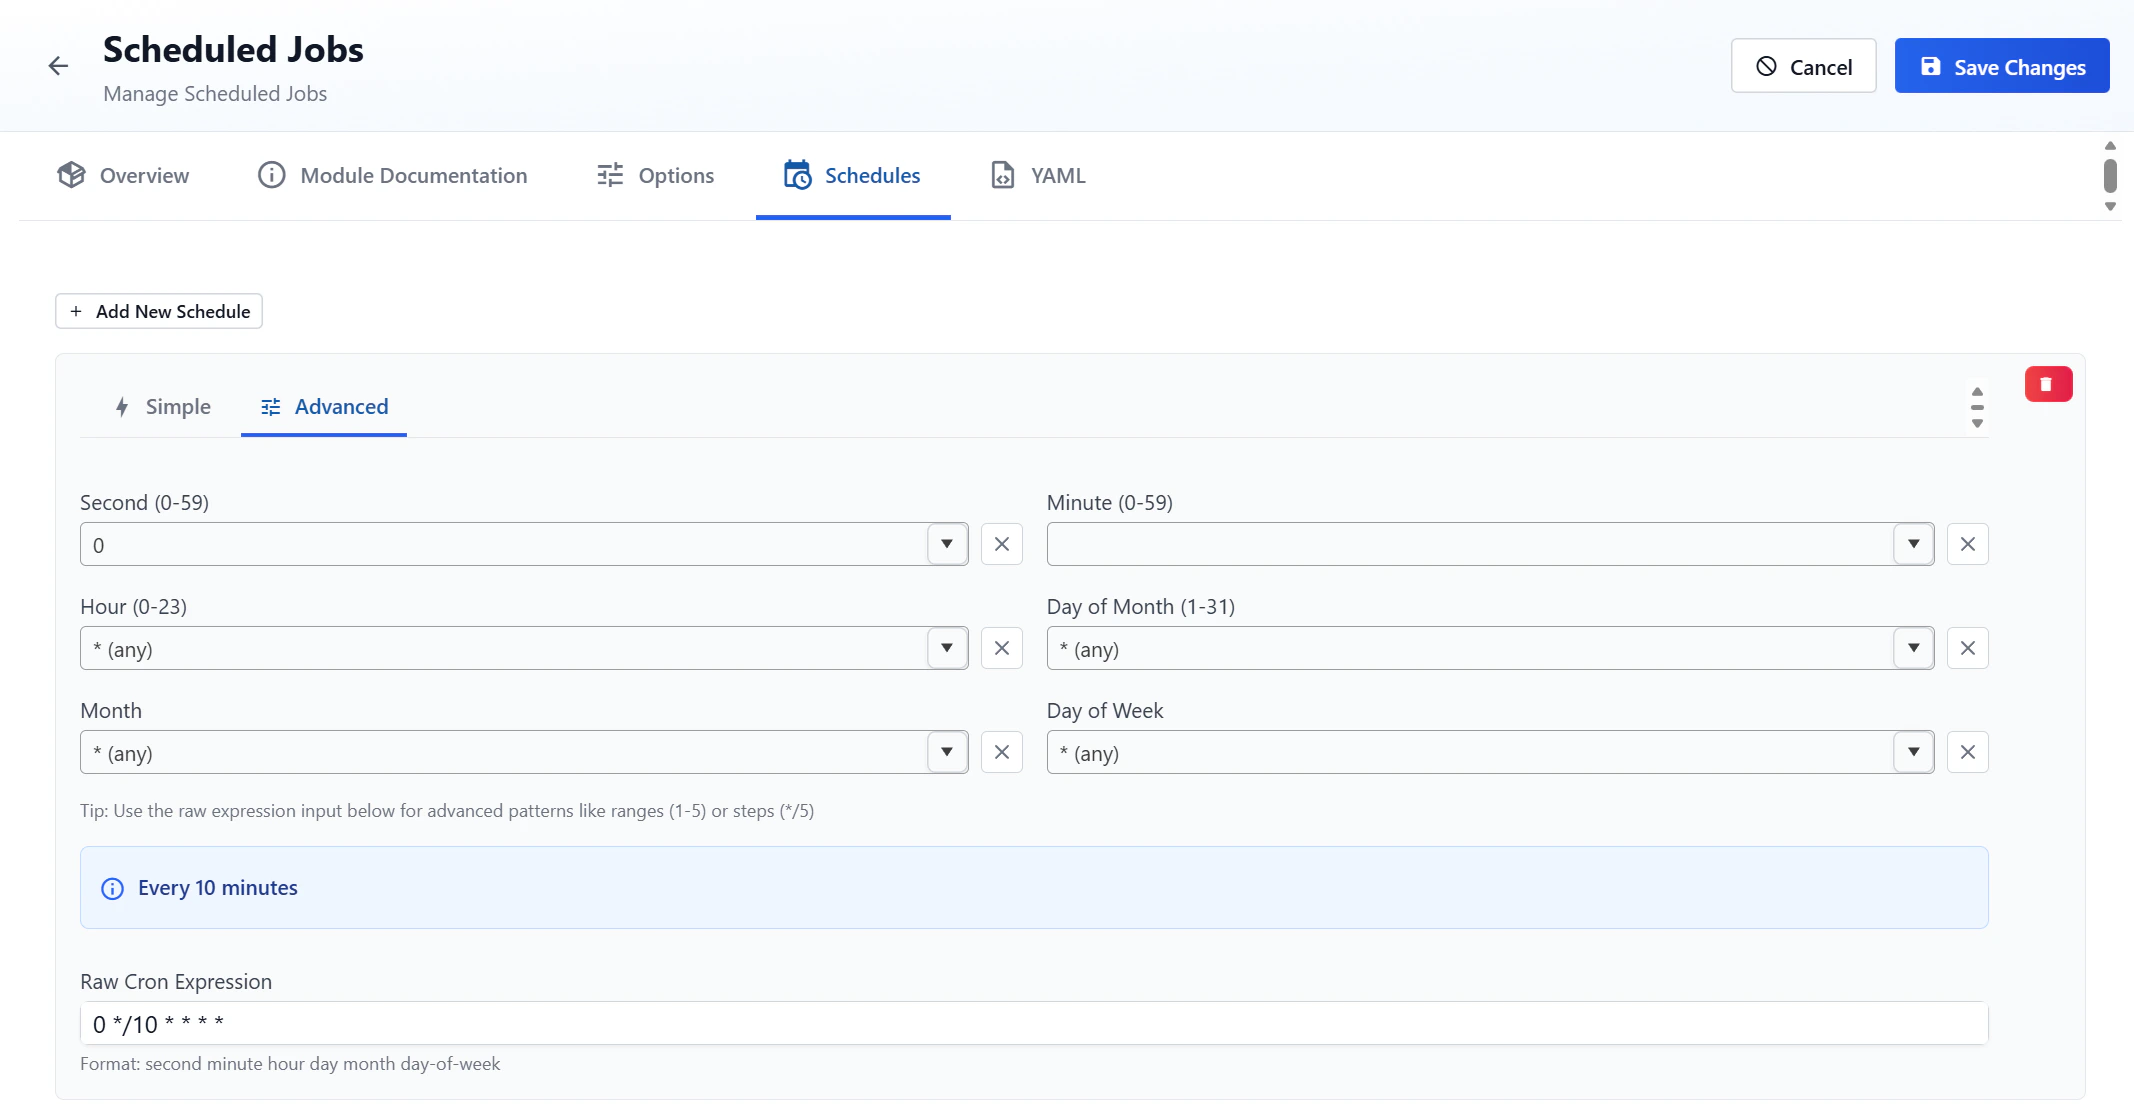
Advanced Schedule Configuration
The Advanced tab provides fine-grained control over the cron schedule: Configure each component of the cron expression:- Second (0-59): Specific second(s) or
* (any) - Minute (0-59): Specific minute(s) or
* (any) - Hour (0-23): Specific hour(s) or
* (any) - Day of Month (1-31): Specific day(s) or
* (any) - Month: Specific month(s) or
* (any) - Day of Week: Specific day(s) or
* (any)
0 */10 * * * *
Step 7: Save the Scheduled Job
After completing all the configuration steps above (job name, module selection, module options, and schedules), click the Save Changes button to create the scheduled job. The job will now appear in the Scheduled Jobs list and will execute according to its defined schedules when active.Managing Scheduled Jobs
From the main Scheduled Jobs page, you can:- View all configured scheduled jobs
- See which jobs are active
- View the module each job uses
- See configured schedules
- Edit existing jobs by clicking on them
- Monitor job execution via the Scheduled Job History page
Important Notes
- Jobs must be marked as Active to run on their schedules
- Only one module can be added to a job
- Multiple schedules can be added to a single job